Do you know you can re-grow your vegetable discards????? I recently started re-growing my romaine lettuce. Just placed the bottom part you would normally discard and grow it in water......you can do this with alot of veggies....
. Lettuce
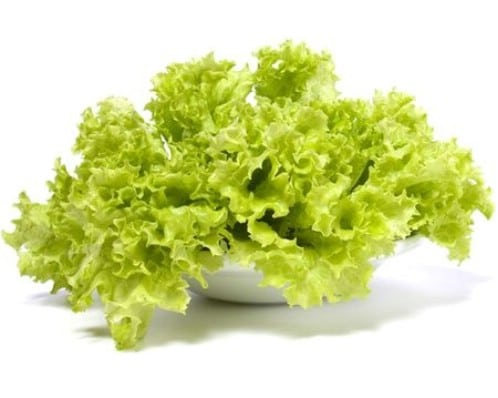
Lettuce,
Bok Choy and cabbage are relatively easy to grow from scraps. Instead
of throwing out those leftover leaves, simply place them in a bowl with
just a bit of water in the bottom. Keep the bowl somewhere that gets
good sunlight and mist the leaves with water a couple of times each
week. After 3 or 4 days, you will notice roots beginning to appear along
with new leaves. When this happens you can transplant your lettuce or
cabbage in soil.
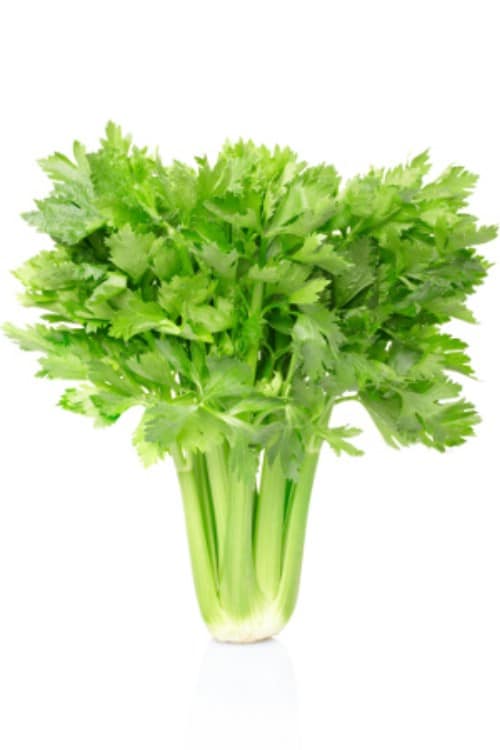
2. Celery
Celery
is one of the easiest foods to grow from leftover scraps. Just cut off
the bottom or base of your celery and lay it in a bowl with just a bit
of warm water in the bottom. Keep the bowl in direct sunlight as long as
possible each day and after about a week, you will begin to see the
leaves thickening and growing along the base. When this happens, you can
transplant your celery in soil and wait for it to grow to full length.
3. Lemongrass

If
you love using lemongrass but have a difficult time finding it, simply
regrow your own. Lemongrass will grow just like regular grass. You just
place the root that is leftover in a glass bowl or jar with enough water
to cover it and leave it in the sunlight. After about a week, you will
notice new growth and when this happens you can transplant your
lemongrass in a pot or in your herb garden.
4. Bean Sprouts
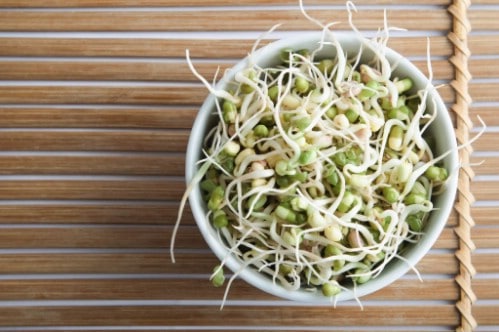
If
you love cooking with bean sprouts you can grow them yourself as well.
You just need to soak a tablespoon or so of the beans that you want to
grow in a jar with shallow water. Leave this overnight and in the
morning, drain the water off and put the beans back in the container.
Cover the container with a towel overnight and rinse them the next
morning. Keep doing this until you notice the sprouts begin to appear
and then until they reach the size that you want. This works well with
mung beans and wheat berries.
5. Avocado
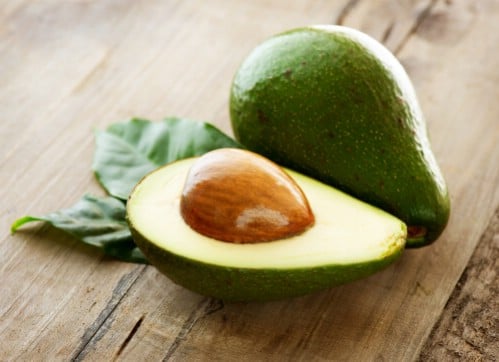
Avocado
seeds can be used to grow a steady supply of this super food. You just
have to wash the seed and use toothpicks to suspend it over water in a
bowl or jar. The water should come up enough to cover the bottom inch of
the seed. Keep the container in a warm place but not in direct sunlight
and remember to check the water every day and add more as needed. It
can take up to six weeks for the stem and roots to appear and once the
stem reaches about 6 inches you will need to cut it down to 3 inches.
When leaves begin appearing, you can plant the seed in soil, remembering
to leave about half of it above ground.
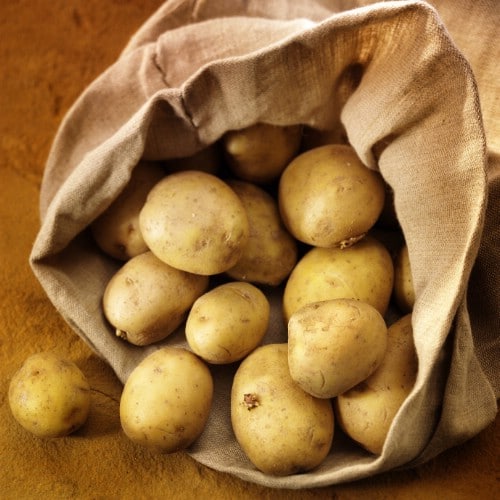
6. Potatoes
Virtually
everyone knows that potatoes can be grown from potato peelings. You
need peelings that have eyes on them. Cut those peelings into two inch
pieces, ensuring that there are at least two or three eyes on each
piece. Allow them to dry out overnight and then simply plant them about
four inches deep in your soil. Make sure that the eyes are facing up
when planting. It will take a few weeks before you see the potato plant
begin to grow.
7. Sweet Potatoes

Sweet
potatoes can be grown much like regular potatoes. You just have to cut
the sweet potato in half and suspend it using toothpicks above a
container of shallow water. Roots will begin to appear in just a few
days and sprouts will be seen on top of the potato around that same
time. Once those sprouts reach about four inches or so in length, just
twist them off and place them in a container of water. When the roots
from this container reach about an inch in length, you can plant them in
soil.
8. Ginger

Ginger
root is very easy to grow and once you get started, you can keep your
supply of ginger full. You just need to plant a spare piece of your
ginger root in potting soil, making sure that the buds are facing up.
You will notice new shoots and new roots in about a week or so and once
this happens you can pull it up and use it again. Remember to save a
piece of the rhizome so that you can replant it and grow more for the
next time you need it.


